


A very common asked for effect is realistic fire text. There are dozens if not hundreds of tutorials on this effect already but most results are very sub-par and far from realistic. But not anymore.
In this tutorial I converted a very good Photoshop tutorial into simple steps anyone can follow with great results. You can also download the project files on ProjectFX if you would rather figure it out on your own instead of watching me ramble on. The written version is below the video.
_________________________________________________________________________________
Open up your canvas and fill the background with black. Get out your text tool, set the size to 200, make the color pure red #ff0000 and write the first letter of your word. This effect should be done one letter at a time for the best result. I'm using the font Trajan Pro Bold.

Duplicate the text layer, name it 'main', and change the color of this one to #cd7e2e. Hide this layer, select the first one again, name it 'glow', and Go to Layer, Layer to Image Size.

Bring up Gaussian blur (Filters, Blur, Gaussian Blur) and blur this layer by 15 or 20. Turn the 'main' layer back on.

Right click the 'main' layer in the layers tab and select "Alpha to Selection".

Make a new layer, shrink the selection by 3 and feather by 7. Fill in the selection with #872d0f and remove the selection using the keyboard shortcut Shift+Ctrl+A (Shift+Command+A on Mac) or going to the Select menu and clicking 'None'. Name this layer 'multiply' and set the blend mode on Multiply.

Again right click the 'main' layer in the layers tab and select "Alpha to Selection". Make a new layer above the multiply layer and fill it with the gold color #e5c23b. Shrink and feather the selection using the settings listed above and fill with black, then remove the selection. Name this layer 'dodge' and set the blend mode on Dodge.

Lock the alpha of the dodge layer and apply a Gaussian blur of 15.


Select the background layer and turn it off. Go to Layer, New from Visible. This makes a copy of all visible layers into a new layer. This layer should be below all the other text layers. Turn all those layers off and turn the background back on

If you want to make the text look like it's burning away, use a large soft edge eraser and erase around the areas you want to burn away. This step is optional but the results can look great.

Make a selection around the letter and open IWarp (Filters, Distorts, IWarp). Set the deform amount to .20. Then gently warp the edges of the letter, first with a radius of 20, then do it again with a radius of 10.

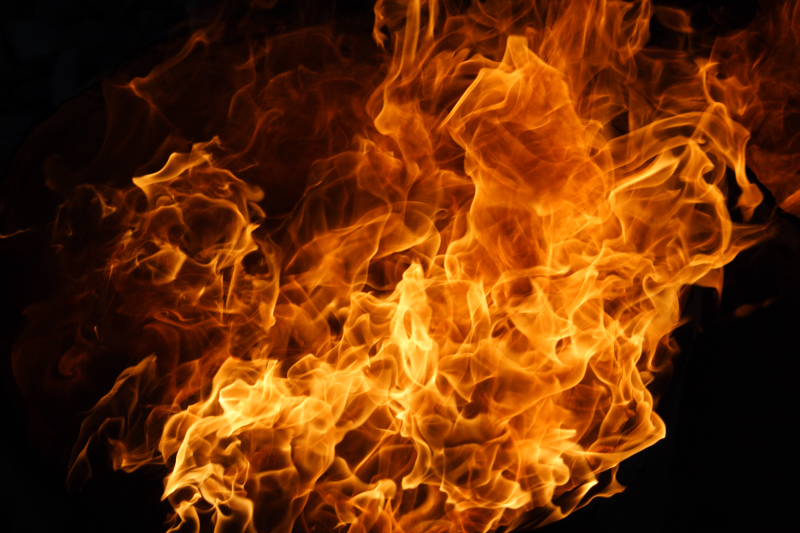
Now we're going to get our fire stock images. There are some great ones on DeviantArt and CGTextures. The one we're going to use is Fire-by-Shaedesofgrey
Load it as a layer, scale it down, use Levels to darken it up, and set the blend mode on Screen.

Make duplicates of it and place it around the letter so it looks like it's burning. Erase any edges and areas that stick out funny Here is a very rough result.

After adding more flames, color correct the piece of fire using Color Balance and Levels so the all blend properly. I also erased some of the edges to look like it was burning away. Next choose Layer, New from Visible. This will be our glow. blur the layer by something high like 200 or 300. Set the blend mode on Screen or Addition. You can add more fire if you want, just keep experimenting until you're happy with it. I added a few more flames and this is the result.

This example isn't as good as the first one I made, the effect will only look better the more time you put into it. Just for comparison here is my original image, I spent about an hour on it.

Download Gimp: http://gimp.org/
Original Photoshop Tutorial: http://bit.ly/smr1OJ
Fire Stock: http://fav.me/dr896m
DA Stocks: http://bit.ly/uH6dcc
Download Xara Graphic Designer 5 for FREE until November 24!
http://t.co/jl11KrWZ
---Follow me---
Twitter: http://twitter.com/djwfx
DeviantART: http://davidwoodfx.deviantart.com
Noisejunkies: http://noisejunkies.net
Very well done - great fx!
ReplyDeleteVery well done and good tutorial. Great fx!!
ReplyDeleteperfect very good job :)
ReplyDeletehow do yer do that :)
ReplyDeleteLoved it, inspired me to my next project! :)
ReplyDeleteIncredible! There is a cool online app called flame painter where I always make any fiery effects.
ReplyDeleteDo you have another tutorial for the text at the bottom? Just watched the tutorial on youtube, and was hoping to see the bottom part done as well as it adds a nice 'caption' to the image.
ReplyDeleteThe bottom text just has a texture on it and a lens flare behind it. Watch me lens flare tutorial to see how I made that.
Deleteinteresting tutorial and nice result !
ReplyDelete