

How many times have you wished for super powers? Admit it, we all have. Well now you'll have control over fire with this awesome tutorial.
The written version is below the video.
[STOCK IMAGES]
http://cgtextures.com/
http://browse.deviantart.com/resources/stockart/nature/fire/?order=9
Download the project: https://www.mediafire.com/?cbt7mbnpnemx7ro
Fireball Tail: http://youtube.com/watch?v=T2zl5heUMPg
Follow Me
---------------
http://twitter.com/#!/djwfx
http://davidwoodfx.deviantart.com
http://noisejunkies.net
http://davidwoodfx.tumblr.com
----------------------------------------------------------------------------------------------------------
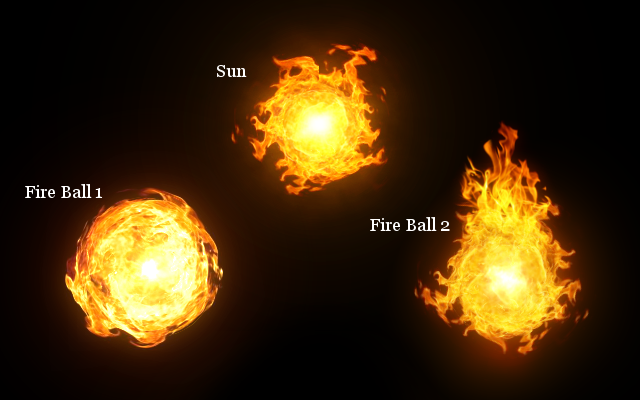
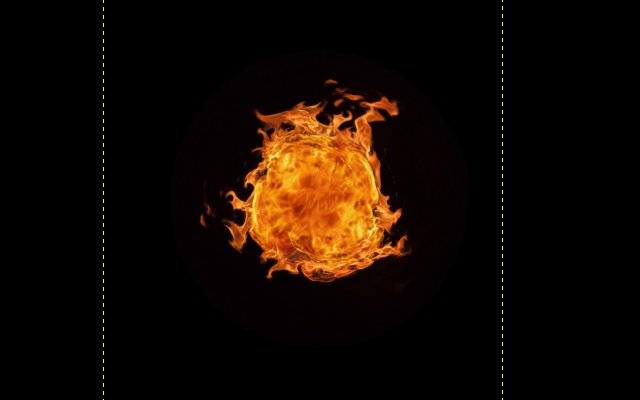
Here's a few different results you can make with this tutorial. The first three steps are used for the sun and fireball 2 examples
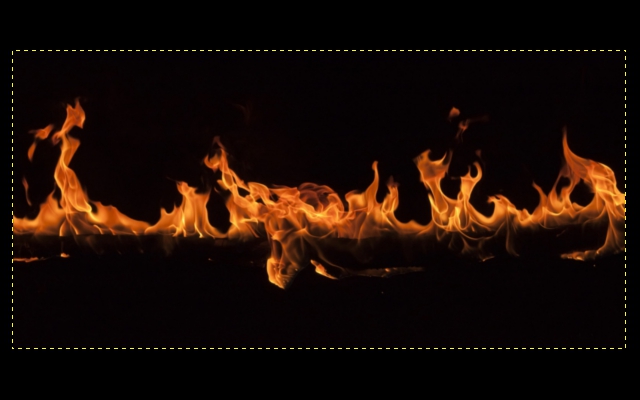
1. First open a new image. I'm using the default size of 640 by 400 but make it big enough for the picture you want to add the fireball to. Fill the background with black. Next you'll need an account on CG Textures to get the stock photos we're going to use, or you can look for similar ones on DeviantArt. The links to both sites are listed above. Download the first image here. Load it into Gimp and use the scale tool to fit it into your canvas. Make the width the same as your image. Center the image using the Alignment tool.
(In case you want the fireball without the outer flames like in the Fireball1 example, use this flame image instead. Then follow the tutorial starting from step 4)
2. Go to Filters, Distorts, Polar Coordinates. Uncheck the box next to 'Map from top' and hit OK.
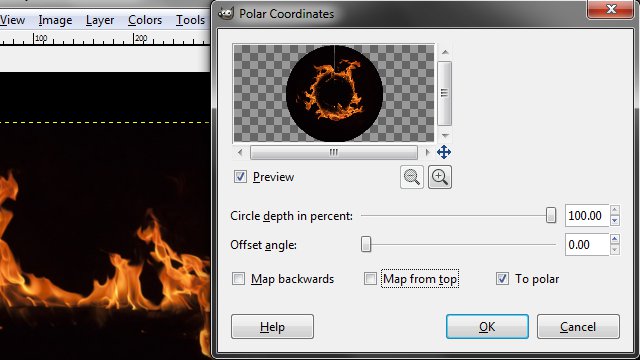
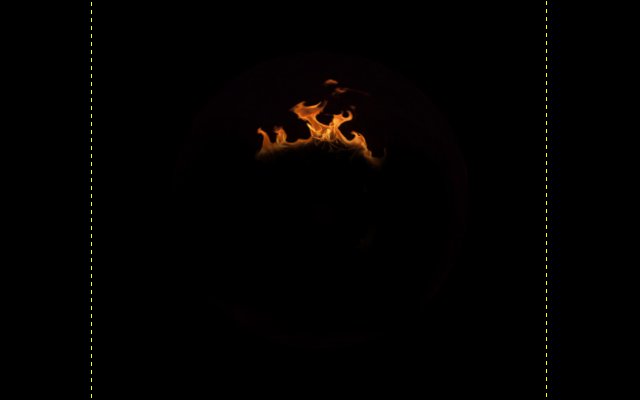
3. Now our image will be a circle, perfect for the outside of our fireball. But there's a seam on the top where the image edges meet. To hide the seam duplicate the fire layer and rotate it anywhere from 90 to 180 degrees. Set the blend mode on Lighten Only and move it to cover the seam. Now use a soft edge brush and paint the bottom half of this second layer with black, it should look like this.
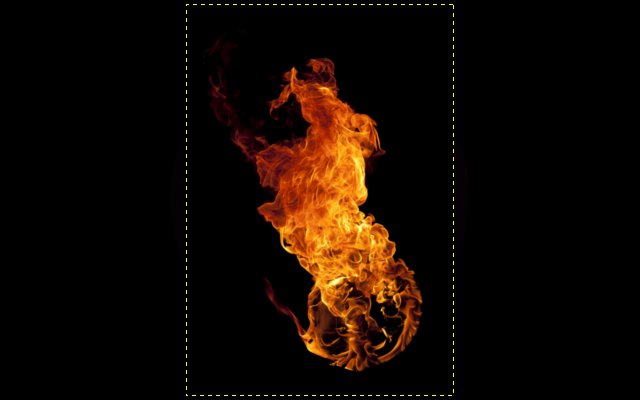
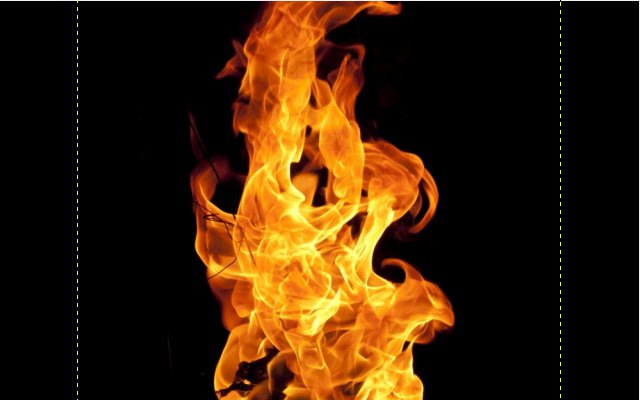
4. Now we'll load this picture. Scale it down to fit in the canvas.
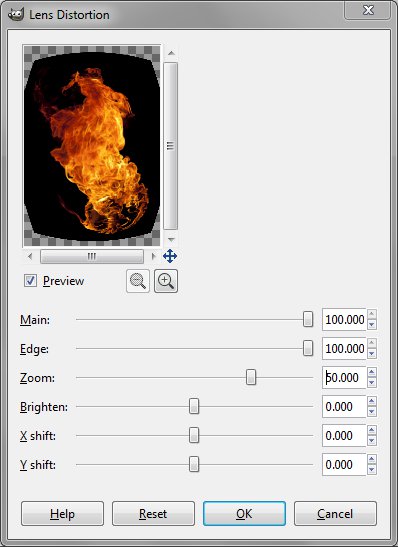
5. Go to Filters, Distorts, Lens Distortion. Lens Distortion is designed to remove the bulging effect caused by wide-angle lenses but it can also exaggerate it. We're going to use that to our advantage. In the filter options set the Main amount to 100, the Edge to 100, and the Zoom to 50. Then hit OK.
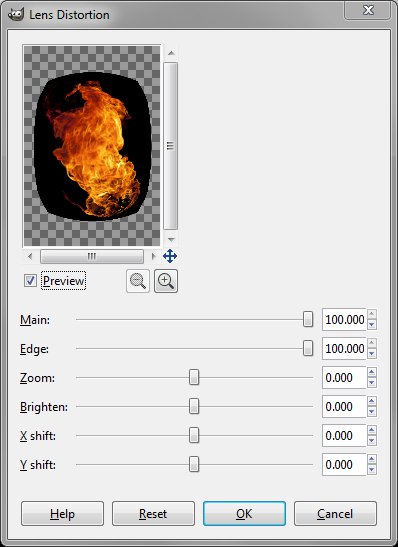
6. Go to Filters, Re-Show Lens Distortion or use the keyboard shortcut Shift+Ctrl+F (Shift+Command+F on Mac). Leave the settings alone except for the Zoom, set that back to 0 and hit OK.
7. We want to run the filter again so use Filters, Repeat Lens Distortion or Ctrl+F (Command+F on Mac). Repeat the filter 8-9 times. The fire should now be nice and round.
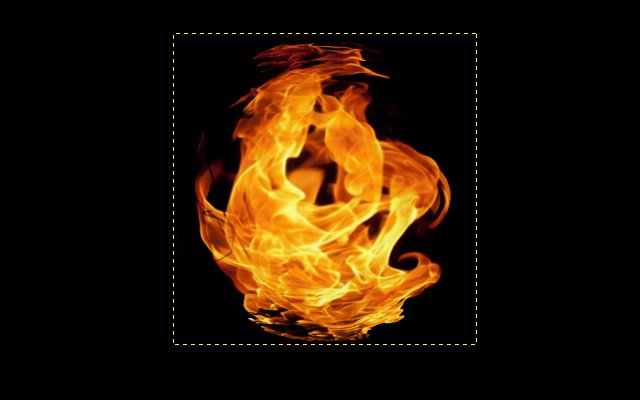
8. Set the layer mode on Lighten Only and place it near the middle of the fireball. Scale it if needed. Duplicate, rotate 180 degrees, and move the copy to the other side of the fireball to fill the middle.
9. This is coming along nicely but the inside of the fireball is mirrored. To fix that we're going to open another flame image and apply the same filters to this. So once again import it as a layer, rotate the layer 90 degrees clockwise, and scale it to fit in the image.
Reapply the Lens Distortion first with the zoom at 50 and then again with it at 0. Repeat the filter 8-9 times.
Scale it down smaller than the other inside layers and set the blend mode on Lighten Only.

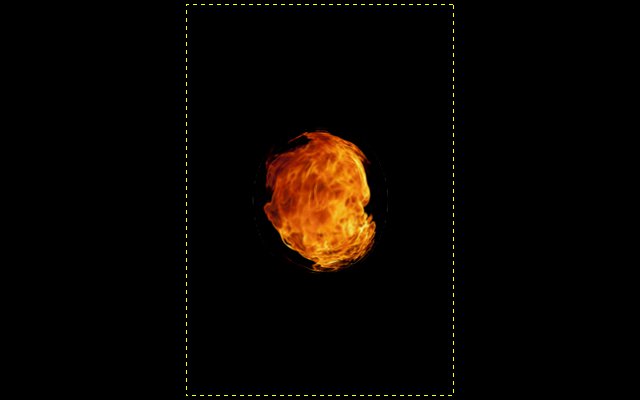
10. Our fireball is almost done, just two more steps to finish it, color correcting the flames and adding a glow. Color-correcting will make all the flames blend together and look like an actual fireball. As you can see in the image above the inside of the fireball blends, but the outside flames are a dull red-orange instead of the fiery orange-yellow of the inside layers. Also the outer flame image doesn't have a solid black background, it's a very dark red instead.
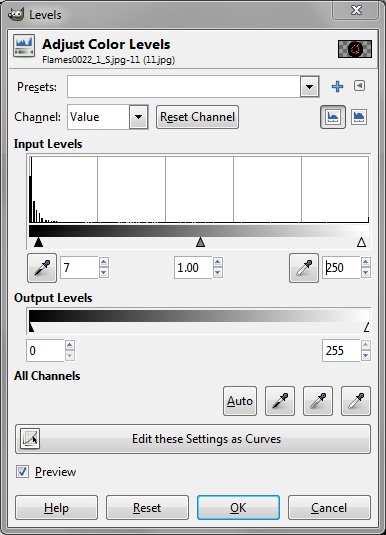
So we're first going to make the background of the outer flames black by opening Levels under the Colors menu and setting the black triangular slider on the left to around 10, this darkens the background as well as the flames so to brighten the flames back up move the white triangle close to 245. Do this again for the second outer flame layer.
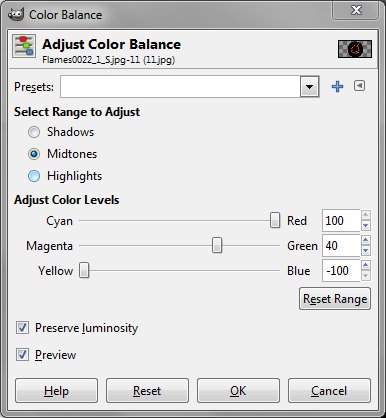
Now to color-correct it. Open up Color Balance, also under the Color menu. I'm only going to change the midtones but you can try the shadows and highlights if you want. Set the first slider to 100. Set the third to -100. See how this added more color to the flames? They should now be a more vibrant orange. But they're still kinda red. To correct this we are going to use the middle slider. This slider will either make our flames more red or more yellow depending on what way we move it. Since ours are already more red, we want to move the slider to the right, adding more yellow. Setting it on 40 or 50 should make the flames match the inside layers so once that's done click OK. Repeat this for the second flame layer.
11. Now you can play around with the blend modes of the layers trying Screen or Addition, but be careful not to destroy the details. I just left them all on Lighten Only. Also use a small soft edge brush and paint with black any areas on the outside where the flames look weird.
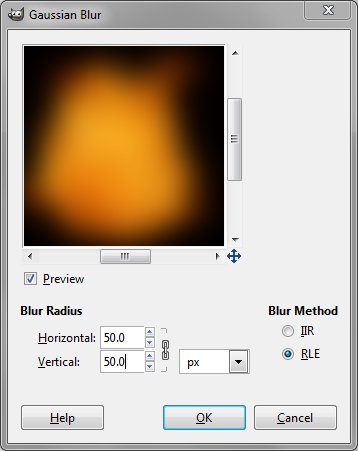
Our effect looks pretty awesome doesn't it? But wait, you want to make it pop some more. We're going to add a glow. Select the top layer and choose Layer, New from Visible. Duplicate the layer twice. Hide the third one by clicking the eye icon in the layer tab. Select the second and go to Filters, Blur, Gaussian Blur. Give this one a high blur. For the size image I made, a blur of 150-200 worked well. Now turn the third layer back on and blur this one too, but this one should be much less, between 20 and 50 looks good for this size image.
Set the blend mode on Screen and the opacity around 65. Merge these two blurred layers together. Set the blend mode on Screen again You should now have a nice natural glow. If the glow takes away too much of the dark areas in the center take a soft edge brush, make it the size of the fireball, set the brush blend mode to Overlay and the color to black, and click once or twice in the center of the fireball.
CONGRATULATIONS! Your fireball is now complete, go ahead and save it, or import it on top of the picture you want the effect in. Set the blend mode to Screen or Add for best result.

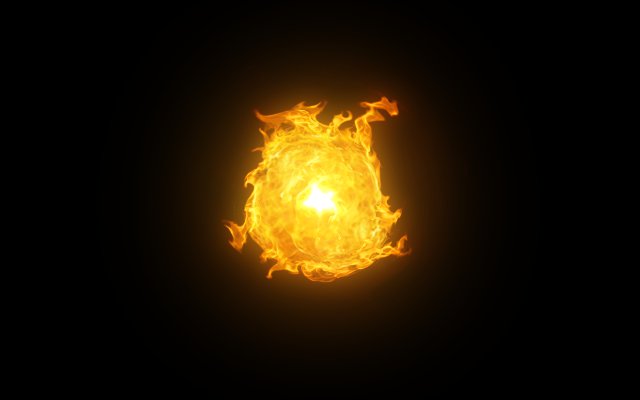
These steps are completely optional and more geared towards the kind of fireball you would hold in your hand with a hot center. Make a new black layer above the glow layer, set the blend mode on Screen and paint a white dot with a hard edge brush in the center of the fireball. Set the layer mode back on Normal.
Duplicate the layer and set the blend mode on Screen, Duplicate it 2 more times. Gaussian blur each of these layers with the following amounts. The first by 5, second by 20, third by 40, and fourth by 80. It should look something like the image below. Merge all these layers together.
Make a selection around the hotspot and go to Filters, Distorts, IWarp.With a deform amount of .50 and a radius ranging from 5 to 15, click in the center of the hotspot and drag out to create a star shape, give it as many points as you want.

Remove the selection using either the option under the Select menu or Shift+Ctrl+A (Shift+Command+A on Mac) and set the blend mode on Add. Scale it if you need to and your hotspot is done.
No comments:
Post a Comment